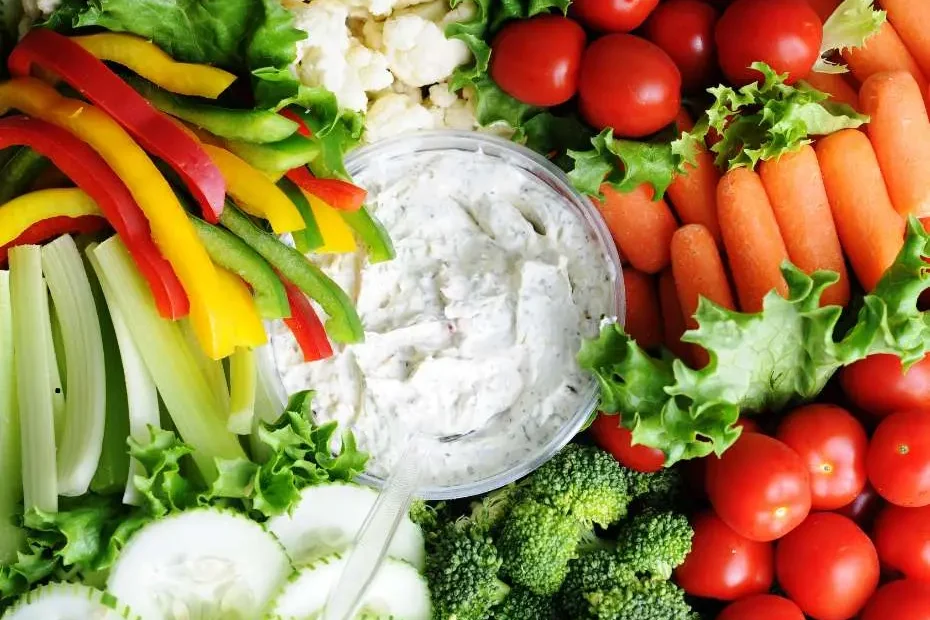
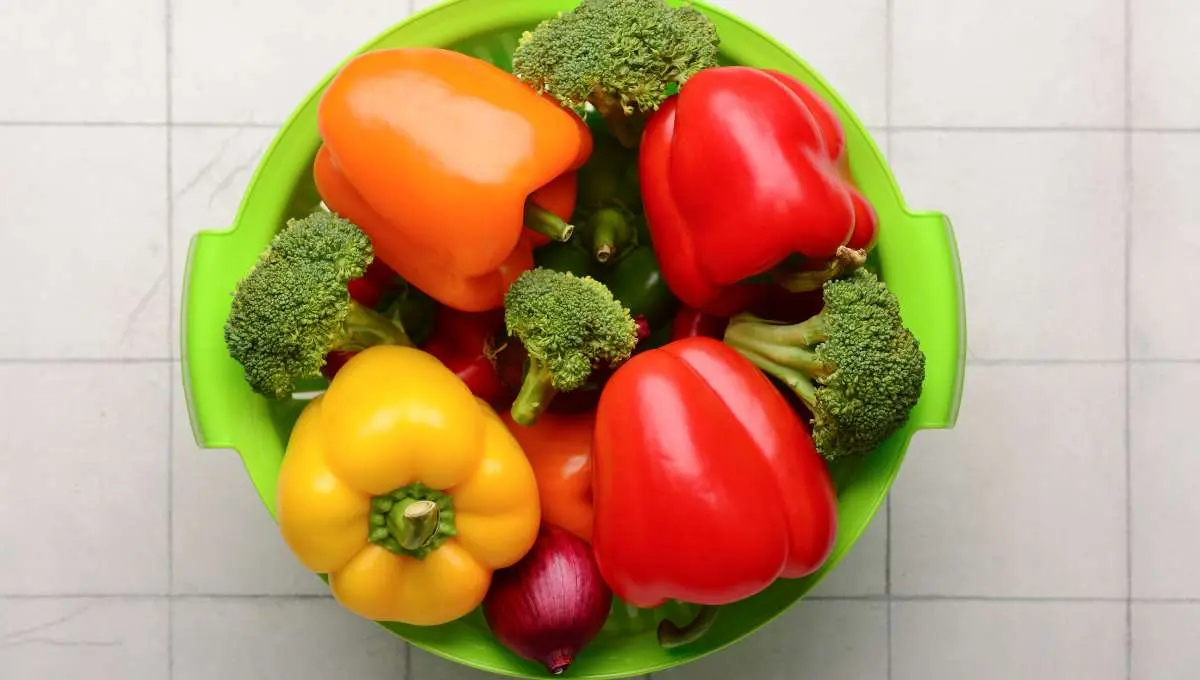
You are ready to elevate your party hosting game with the perfect vegetable tray, but you want to ensure the veggies stay crisp, colorful, and delicious throughout the event. This comprehensive guide will walk you through the process of blanching vegetables, a crucial step in creating stunning vegetable trays that not only look appealing but also taste amazing.
Blanching is a cooking technique that involves briefly immersing vegetables in boiling water, and then immediately cooling them down in an ice bath to halt the cooking process. By blanching vegetables before assembling your tray, you can lock in the vibrant colors, enhance their crunchiness, and ensure they stay fresh longer, making your vegetable tray a standout highlight of any gathering.
Key Takeaways:
- Preserves color and texture: Blanching vegetables helps to maintain their vibrant color and crisp texture, making them more visually appealing on a vegetable tray.
- Helps to retain nutrients: By blanching vegetables briefly in boiling water and then cooling them quickly in ice water, you can help preserve their nutritional value.
- Ahead-of-time preparation: Blanching allows you to prepare vegetables ahead of time for a vegetable tray, making it easier to assemble when serving guests.
Understanding Vegetable Types for Trays
If you’re looking to create a visually appealing and appetizing vegetable tray, it’s crucial to understand the different types of vegetables available.
- Seasonal vegetables are ideal for trays as they are fresh, flavorful, and often more affordable.
- When selecting vegetables for your tray, consider their texture and flavor profile to ensure a well-rounded assortment.
- Color is another key factor to keep in mind as it adds visual appeal to the tray.
- Remember to select a variety of vegetables to cater to different tastes and preferences.
- Thou should aim to include a mix of vegetables that are both familiar and unique to create a balanced and interesting tray.
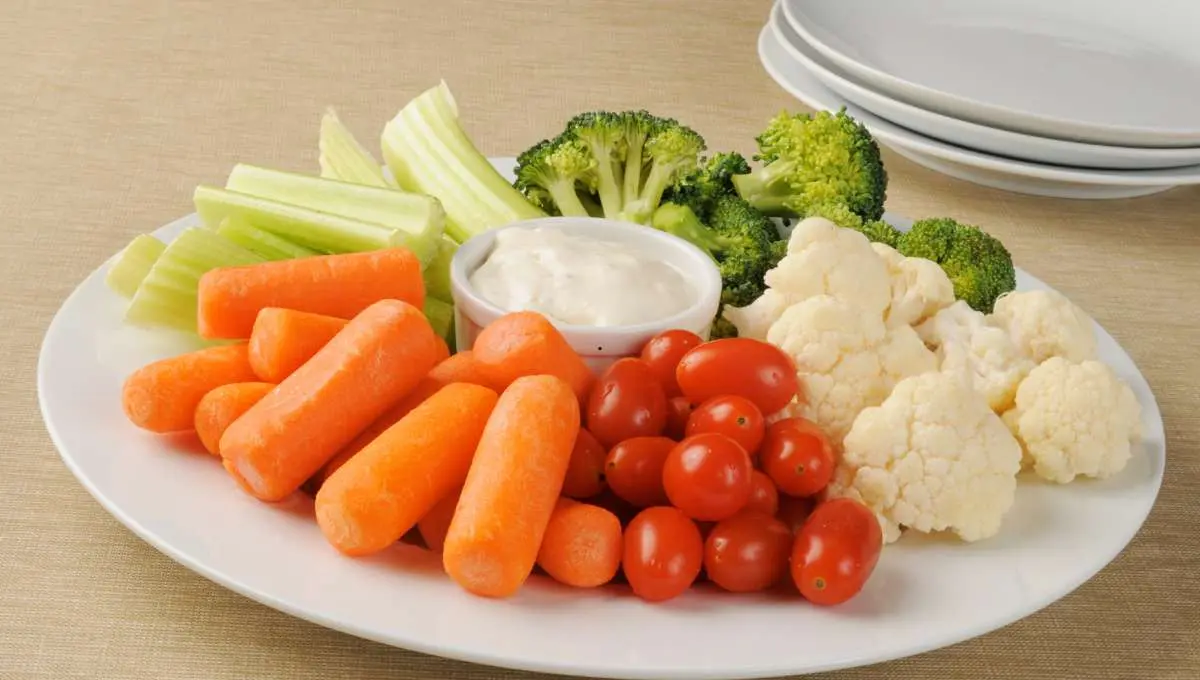
Seasonal Vegetable Selection
Selection plays a crucial role in determining the success of your vegetable tray. Opt for in-season vegetables as they are not only more flavorful but also more budget-friendly. To ensure you have a diverse assortment, include a mix of root vegetables, leafy greens, and colorful produce. By selecting seasonal vegetables, you guarantee freshness and quality in your tray presentation.
Texture and Flavor Considerations
Any expert vegetable tray maker knows that texture and flavor are paramount. Consider the crunchiness of vegetables like carrots and bell peppers contrasted with the softness of tomatoes and cucumbers. Balancing flavors, such as the sweetness of bell peppers with the tanginess of cherry tomatoes, creates a delightful sensory experience for your guests.
Understanding the interplay of textures and flavors in your vegetable selection is key to creating a well-rounded tray that caters to different tastes. Remember to include a mix of vegetables with varying textures and flavor profiles to keep your tray interesting and appetizing.
Color and Aesthetic Appeal
The appeal is not just about taste but also about visual presentation. Incorporating a range of colorful vegetables like red peppers, green cucumbers, and orange carrots adds vibrancy to your tray. Balance the colors to create an eye-catching display that is not only appetizing but also visually appealing.
Types For a standout vegetable tray, consider including a mix of vegetables with different shapes, sizes, and colors to create a visually appealing and appetizing arrangement. Be sure to balance familiar favorites with more exotic options to cater to a variety of tastes. Experiment with different combinations to find the perfect balance of textures, flavors, and colors for your vegetable tray masterpiece.
Preparing Vegetables for Blanching
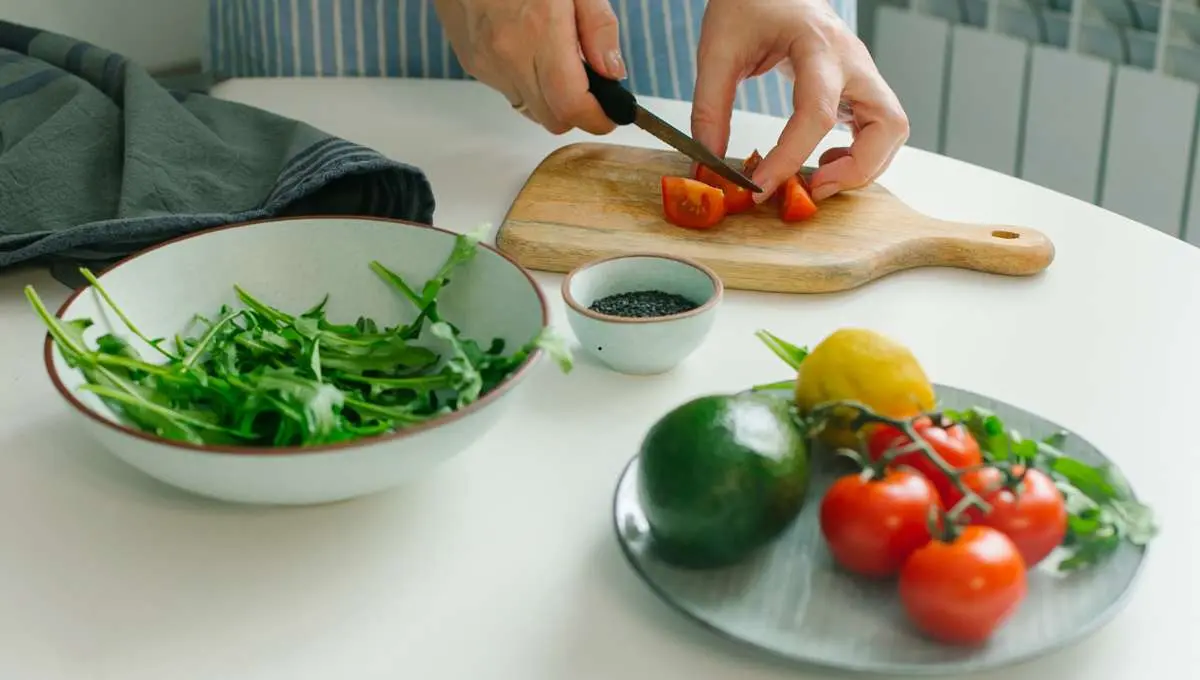
Now, before blanching vegetables for your fabulous vegetable tray, it’s crucial to prepare them properly. This step ensures that your veggies not only retain their vibrant colors and nutrients but also stay crisp and delicious.
Thorough Washing Techniques
One of the necessary steps in preparing vegetables for blanching is giving them a thorough wash. This simple yet important step helps to remove any dirt, bacteria, or pesticides that may be lingering on the surface of the vegetables. To ensure cleanliness, rinse the vegetables under cold running water and use a vegetable brush to scrub the nooks and crannies.
Cutting Vegetables for Dip and Presentation
Vegetables can be served in various ways on a vegetable tray – some are best for dipping, while others are perfect for adding color and presentation. When cutting vegetables for dip and presentation, it’s important to consider the size and shape of the pieces. Vegetables for dipping, like carrots and celery, should be cut into manageable sizes for easy snacking. On the other hand, vegetables for presentation, such as radishes and cherry tomatoes, can be sliced or left whole for a more visually appealing arrangement.
Soaking Methods for Particular Vegetables
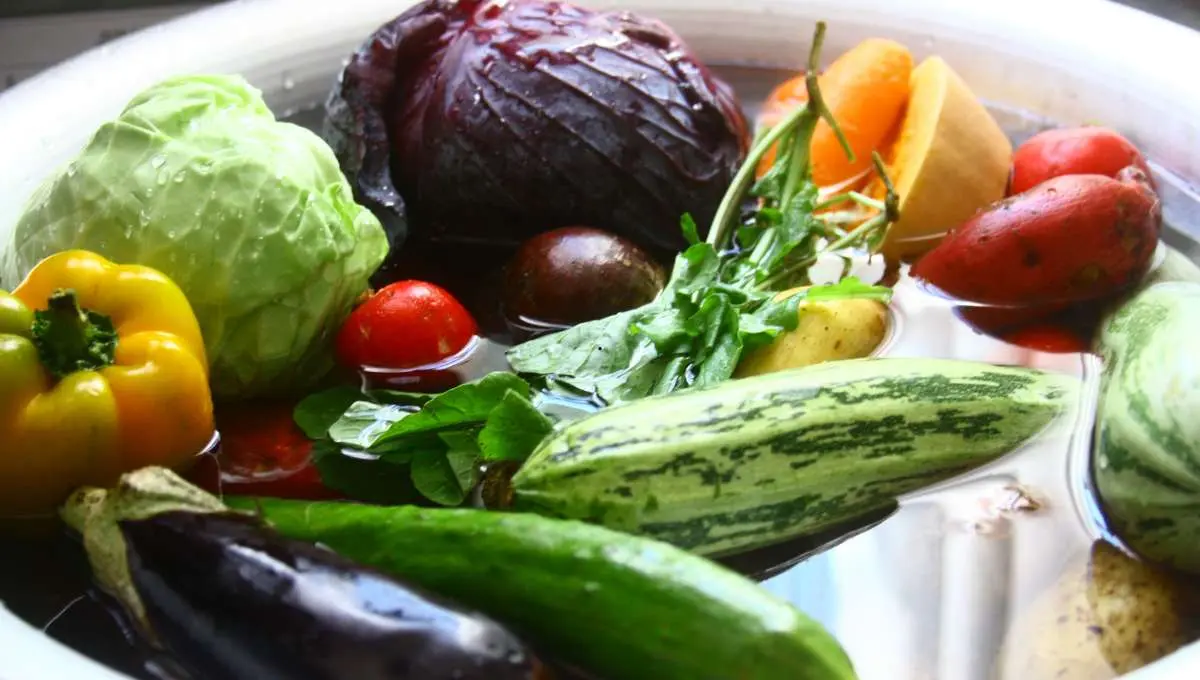
Thoroughly washing and cutting the vegetables is crucial, but for some varieties, soaking can be beneficial before blanching. Soaking certain vegetables, like broccoli and cauliflower, in a cold water bath for about 20-30 minutes can help to revive their crispness and remove any excess dirt.
Shape
Regarding soaking vegetables before blanching, consider the shape of the vegetables. Floret-shaped vegetables, like broccoli and cauliflower, can benefit from soaking, as it helps to hydrate and freshen up the florets before blanching. Blanching is a precise technique that involves briefly boiling vegetables and then immediately plunging them into an ice bath to stop the cooking process.
This helps to retain the vibrant color, crisp texture, and most importantly, the nutrients of the vegetables. Follow these preparation steps diligently to ensure your vegetable tray is as visually appealing as it is delicious and nutritious.
Blanching Basics: Step-by-Step Guide
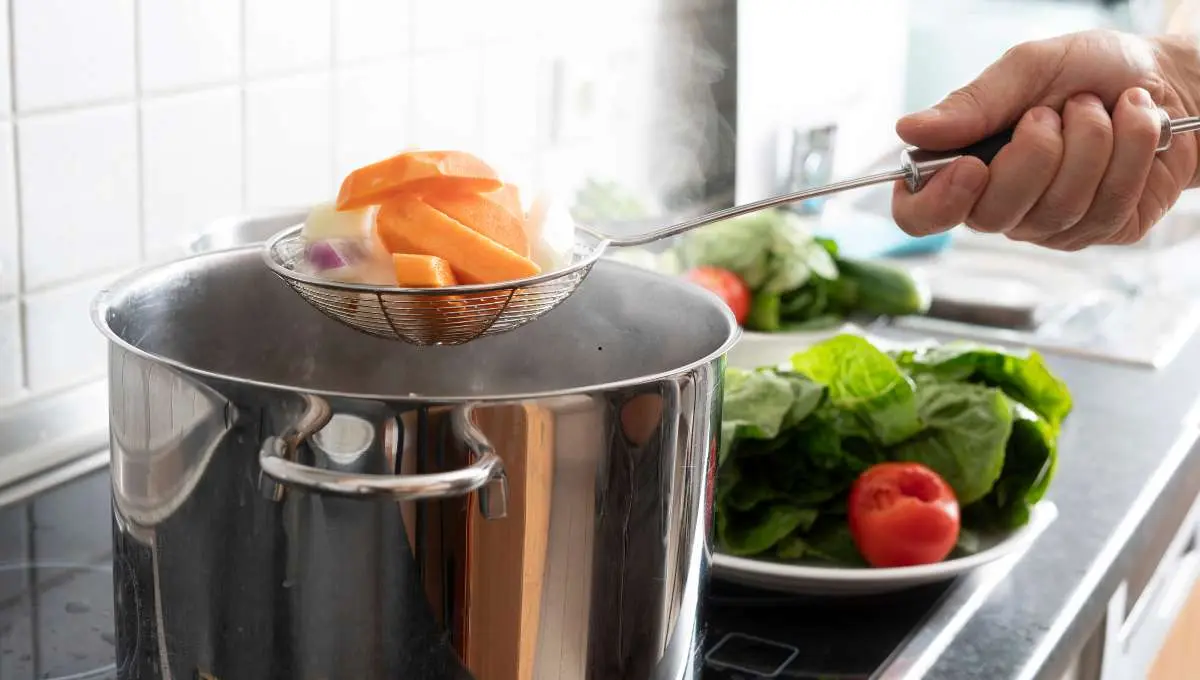
All vegetable trays can benefit from blanching, a process that involves partially cooking vegetables in boiling water and then quickly cooling them in an ice bath. This technique helps to preserve the vibrant color, flavor, and texture of the vegetables, making them perfect for a crunchy and fresh addition to your party spread.
The Blanching Process Explained
| Step 1: | Start by bringing a large pot of water to a rolling boil. |
| Step 2: | Prepare an ice bath by filling a bowl with ice cubes and cold water. |
For blanching, it is crucial to work quickly and efficiently. Once the vegetables are blanched, they should be immediately transferred to the ice bath to stop the cooking process. This will help the vegetables retain their crispness and vibrant color.
Equipment Needed for Blanching
| Pot: | For blanching, you will need a large pot to accommodate the vegetables and enough water to submerge them. |
| Colander: | A colander will be handy for quickly draining the vegetables after blanching. |
Explained: A large pot with a lid is ideal for blanching as it heats up quickly and retains heat effectively. A colander with small holes will prevent the vegetables from falling through while draining.
Timing Your Blanch for Optimal Texture
| Crunchy Vegetables: | In general, blanching for 1-2 minutes is sufficient to retain crunchiness. |
| Tender Vegetables: | For softer textures, aim for 3-5 minutes of blanching time. |
Explained: The timing of blanching is crucial for achieving the desired texture. Over-blanched vegetables can become mushy, so it’s important to monitor the cooking time closely to maintain optimal texture.
Advanced Tips for Perfect Blanching
- Factors Affecting Blanching Quality
Factor Impact Vegetable Size Large pieces require longer blanching times Water Temperature Boiling water ensures quick blanching Duration Overblanching can lead to mushy vegetables - Seasoning Blanched VegetablesA little extra seasoning can elevate the flavor profile of blanched vegetables. After blanching, consider tossing the vegetables with olive oil, garlic, salt, and pepper for an added burst of flavor.
- Avoiding Common Blanching MistakesTemperature control is crucial in blanching; make sure to maintain a steady boil throughout the process to achieve optimal results. For instance, if the water temperature drops, vegetables may end up undercooked.
Factors Affecting Blanching Quality
Advanced blanching requires attention to detail, as several factors can impact the quality of the final product. Vegetable size plays a significant role, with larger pieces needing longer blanching times to achieve the desired texture. Additionally, the water temperature must be carefully monitored, as boiling water helps maintain the vegetables’ color and flavor.
The duration of blanching is equally important, as overblanching can result in mushy vegetables. The key is to find the right balance for each vegetable variety. The success of your blanching process hinges on mastering these key factors.
Seasoning Blanched Vegetables
Little touches can go a long way in enhancing the taste of blanched vegetables. Consider adding olive oil, garlic, salt, and pepper to your blanched vegetables for an additional layer of flavor. These simple seasonings can transform a basic vegetable tray into a gourmet delight, pleasing even the most discerning palates.
Avoiding Common Blanching Mistakes
Temperature control is crucial when blanching vegetables to perfection. Maintaining a steady boil ensures that the vegetables cook evenly and retain their vibrant colors. For instance, fluctuations in water temperature can lead to undercooked vegetables or uneven blanching results. By paying close attention to the blanching process and avoiding common mistakes, you can create vegetable trays that are visually appealing and bursting with flavor.
Creating an Aesthetic Veggie Tray
After preparing a selection of fresh and vibrant vegetables for your veggie tray, it’s time to focus on creating an aesthetically pleasing display that will wow your guests. A well-designed veggie tray not only entices people to eat their veggies but also serves as a beautiful centerpiece for any gathering.
Selecting the Right Tray and Layout
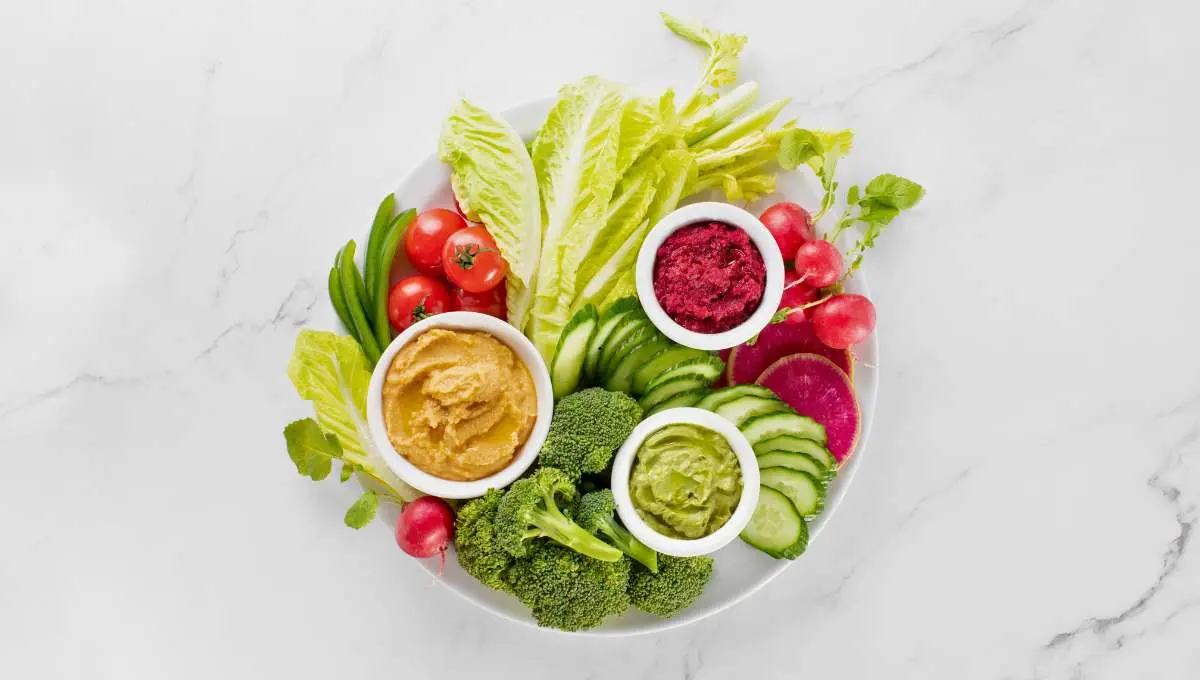
Little details can make a big difference when it comes to creating a visually appealing vegetable tray. Choose a tray that complements the colors of your vegetables and provides enough space for each item to shine. Consider using a variety of shapes, sizes, and textures to add visual interest. When arranging your veggies, think about creating a balanced and symmetrical layout that is pleasing to the eye.
Garnishing Techniques
While the vegetables themselves are the stars of the show, garnishes can take your veggie tray to the next level. Consider using fresh herbs, edible flowers, or citrus twists to add a pop of color and elevate the presentation. Experiment with different cutting techniques, such as crinkle cuts or matchstick shapes, to add visual appeal and texture to your tray.
Garnishing also serves a practical purpose by providing visual cues about the flavors and ingredients of each vegetable. For example, a sprinkle of chopped parsley on a plate of carrots can indicate a fresh and herbaceous undertone.
Pairing Dips and Sauces
Garnishing your vegetable tray with an assortment of dips and sauces can enhance the flavors of the vegetables and provide a delicious accompaniment for dipping. Pairing creamy dips like ranch or hummus with crunchy veggies like carrots and celery creates a satisfying contrast in textures. Additionally, consider offering spicy salsa or tangy tzatziki to add a burst of flavor to your tray.
When creating your veggie tray, remember to pair the dips strategically to complement the flavors of the vegetables. Experiment with different combinations to find the perfect balance of flavors for your guests to enjoy. Creating a harmonious blend of textures, colors, and flavors will ensure that your veggie tray is a hit at any gathering.
Accommodating Special Diets
Low-Sodium and Low-Sugar Options
For individuals watching their sodium and sugar intake, it’s crucial to offer options that cater to their dietary restrictions without compromising on taste. While traditional vegetable trays may include dips and seasonings high in sodium and sugar content, consider preparing fresh vegetables without added salt or sugary coatings. Opt for natural flavor enhancers like herbs, spices, and citrus juices to enhance the taste of the vegetables without relying on salt or sugar.
Gluten-Free and Vegan Tray Ideas
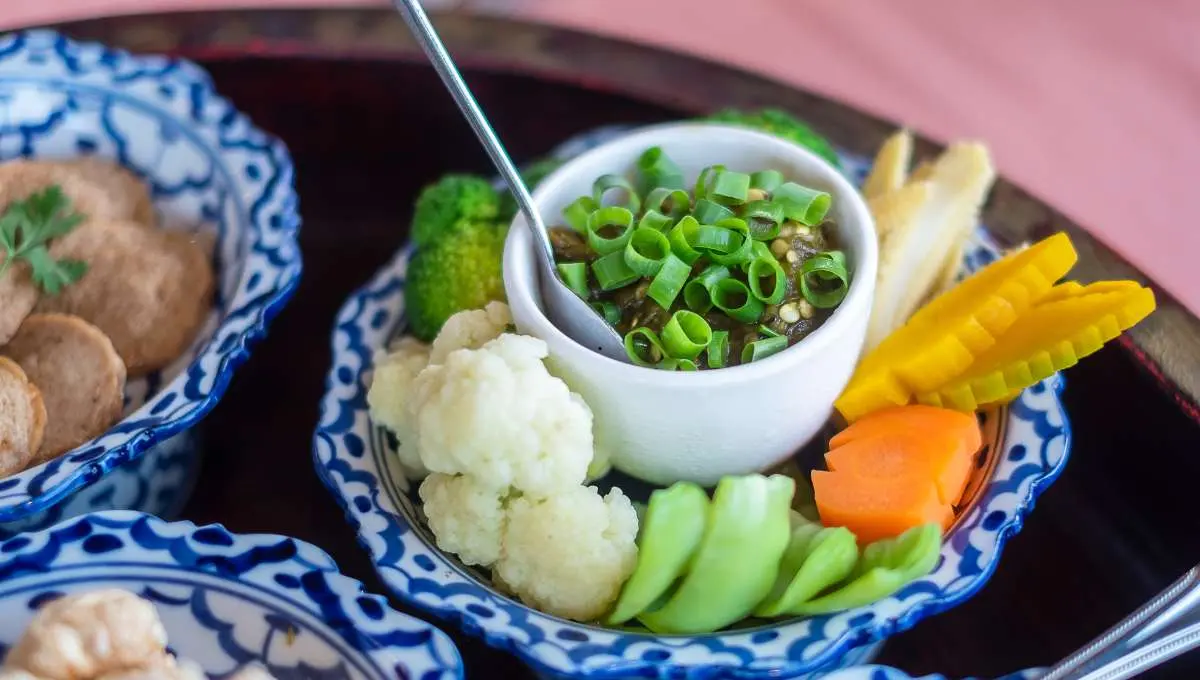
While planning a vegetable tray for gluten-free and vegan guests, it’s important to be mindful of ingredients that may contain gluten or animal products. Choose a variety of colorful vegetables such as bell peppers, cherry tomatoes, cucumbers, and carrots, which are naturally gluten-free and vegan-friendly. Serve them with gluten-free dips and spreads, like hummus or guacamole, to ensure all guests can enjoy the tray without worries about dietary restrictions.
With an increasing number of individuals adopting gluten-free and vegan lifestyles, it’s crucial to label all components of the vegetable tray to indicate they are free from gluten and animal products. Providing clear labeling will not only help guests with dietary restrictions feel comfortable but also prevent any accidental consumption of allergens.
Allergy-Friendliness and Cross-Contamination Prevention
An important consideration when accommodating special diets is allergy-friendliness and preventing cross-contamination. To create a safe environment for guests with allergies, avoid using shared utensils between different dishes and separate any allergen-containing items from the rest of the tray. Diets with severe allergies must be accommodated with extra caution to prevent any adverse reactions.
While preparing your vegetable tray, be aware of common allergens like nuts, dairy, and gluten, and ensure that they are kept separate from allergy-friendly options. By taking these precautions, you can create a welcoming and safe environment for all guests with dietary restrictions.
Storage and Make-Ahead Tips
Storing Blanched Vegetables
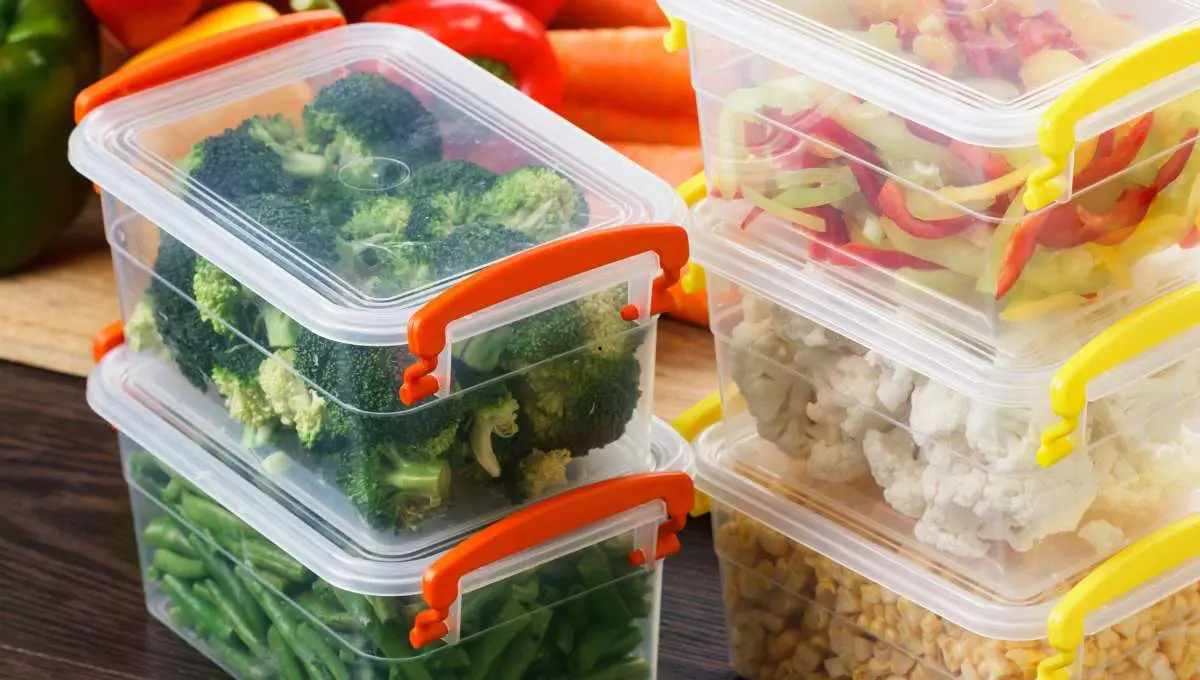
If you want to store blanched vegetables for later use, ensure they are completely dry before refrigerating them. Place the blanched veggies in an airtight container or resealable plastic bag, and keep them in the fridge for up to three days. Make sure to label the container with the date of blanching to keep track of freshness. When ready to use, simply take them out and add them to your veggie tray for a pop of color and crunch.
For longer storage, you can freeze blanched vegetables. Ensure they are cooled and dried thoroughly before freezing. Store them in a freezer-safe container or bag, removing as much air as possible, and they can last for up to six months. The blanching process helps maintain the veggies’ color, texture, and nutritional value, making them a convenient addition to your meals.
The key to preserving the freshness of blanched vegetables is proper storage and timely use.
Preparing Veggie Trays in Advance
One of the best ways to save time when entertaining is by preparing veggie trays in advance. Wash, peel, and cut your vegetables a day before your event, keeping them in an airtight container with a damp paper towel to maintain crispness. This not only saves you time on the day of the event but also allows the flavors of the vegetables to meld together, enhancing the overall taste of your tray.
This make-ahead approach also gives you the flexibility to focus on other aspects of your gathering, knowing that your veggie tray is ready to be the star of the show. Just before serving, arrange the vegetables on a platter with your favorite dip, and watch them disappear in no time.
Keeping Sliced Vegetables Fresh
Freezing sliced vegetables is a great way to preserve them for future use, especially if you have leftovers from your veggie tray. Simply spread out the sliced veggies on a baking sheet in a single layer and freeze them until they are solid. Transfer the frozen vegetables to a freezer-safe bag or container, remove as much air as possible, and store them for up to six months.
This method not only prevents waste but also allows you to have ready-to-use veggies on hand for soups, stir-fries, or salads.
Storing sliced vegetables in the freezer locks in their freshness and nutrients, ensuring they are always available for quick and convenient meal prep. Whether you have an abundance of veggies from a party or want to be prepared for busy weekdays, this freezing method is a game-changer in your kitchen.
Pros and Cons of Blanching
Unlike other cooking methods, blanching offers various pros and cons that should be carefully considered before incorporating it into your vegetable trays. Let’s break down the advantages and disadvantages in the table below:
| Pros | Cons |
| Preserves color and flavor | Loss of some water-soluble nutrients |
| Helps in removing dirt and organisms | This may lead to the leaching of vitamins and minerals |
| Extends the shelf life of vegetables | Requires additional time and effort |
| Improves texture and crunchiness | Some vegetables may become mushy after blanching |
| Enables easier freezing and storage | This could result in the loss of certain phytonutrients |
Nutritional Impact
Cons: While blanching helps retain the color and texture of vegetables, it can lead to the loss of some water-soluble vitamins like vitamin C and B-complex vitamins. Additionally, minerals such as potassium and magnesium may leach out into the blanching water, affecting the overall nutrient content of the vegetables.
Texture Preservation
Blanching: One of the key benefits of blanching is its ability to preserve the texture of vegetables. By briefly cooking them in boiling water and then immediately plunging them into ice water, blanching helps maintain the crispness and crunchiness of vegetables, making them more enjoyable to eat.
Time and Effort Considerations
Understanding: When considering the time and effort involved in blanching vegetables, it’s important to weigh the benefits against the additional steps required. While blanching can help extend the shelf life and enhance the overall quality of vegetables, it does demand extra time for preparation and can add complexity to the cooking process.
On: It’s crucial to assess whether the benefits of blanching, such as improved texture and shelf life, outweigh the additional time and effort it requires. For those looking to maximize the nutritional content and presentation of their vegetable trays, the trade-off may be worth it in the long run.
This: In the aggregate, understanding the pros and cons of blanching is vital for creating vibrant and flavorful vegetable trays. By carefully considering the nutritional impact, texture preservation, and time and effort considerations, you can make informed decisions that align with your preferences and culinary goals.
Serving and Presentation
Arranging the Veggie Tray for Serving
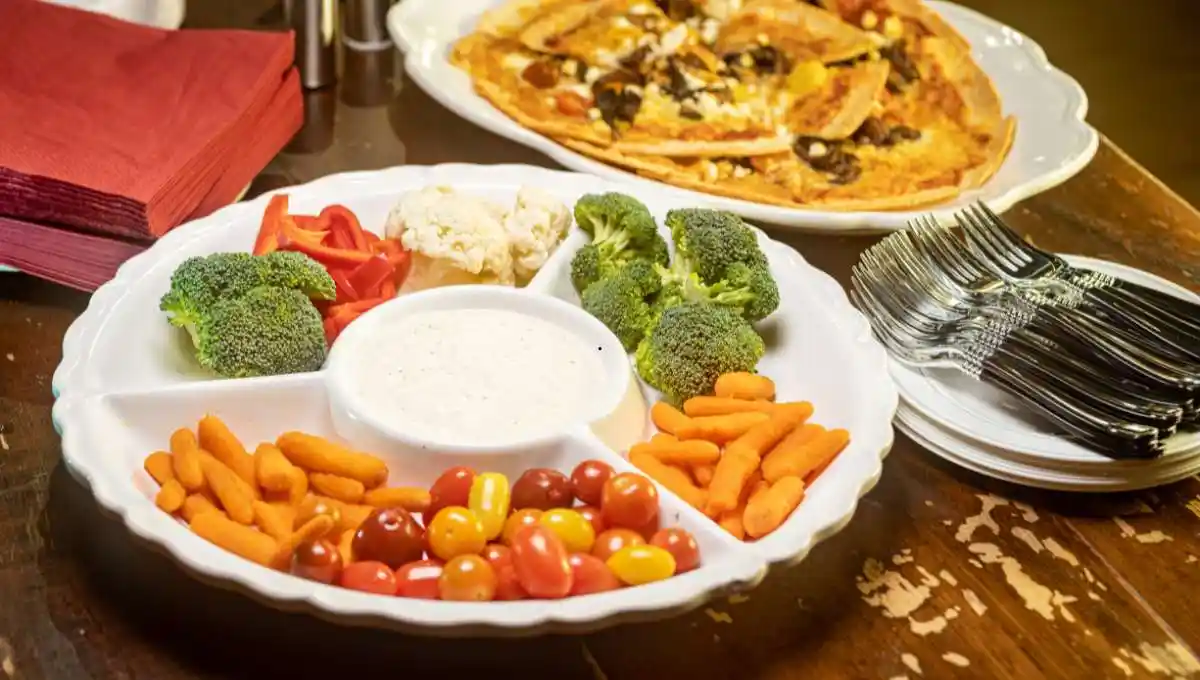
To create an appealing veggie tray for serving, start by selecting a variety of colorful vegetables. Chop them into bite-sized pieces or sticks for easy consumption. Begin arranging the vegetables on a large platter or tray, starting with the larger pieces in the center and working your way outwards with smaller pieces. Consider adding dips like hummus or ranch dressing in the middle to complement the vegetables.
Transporting Vegetable Trays
Even a beautifully arranged veggie tray can lose its appeal if it’s not transported carefully. When transporting vegetable trays, it’s crucial to keep them chilled to maintain freshness and prevent spoiling. Place the veggie tray in an insulated cooler with ice packs to keep it cool during transportation. Avoid leaving the tray in direct sunlight or in a hot car for an extended period.
To prevent any accidents during transportation, secure the tray with non-slip mats or towels underneath to keep it from sliding around. A stable base will also help in preventing any spills and keep the vegetables intact for serving.
Maintaining Freshness During the Event
Event hosts often face the challenge of keeping the veggie tray fresh and appealing throughout the gathering. To ensure the vegetables stay crisp and tasty, place the platter on a bed of ice to keep them chilled. Additionally, cover the vegetables with a damp paper towel or plastic wrap to retain moisture and prevent wilting. Strategically place the tray away from direct sunlight or heat sources to maintain freshness.
Avoid leaving the veggie tray out at room temperature for more than 2 hours as bacteria can quickly multiply, leading to food safety concerns. Make sure to replenish the ice and change the coverings periodically to keep the vegetables looking and tasting their best throughout the event.
Blanching Alternatives
Not a fan of traditional blanching methods? There are alternative ways to prepare your vegetables for a beautiful tray that are just as effective. Whether you’re short on time or looking for a different technique, consider these blanching alternatives.
Steam Blanching and Its Application
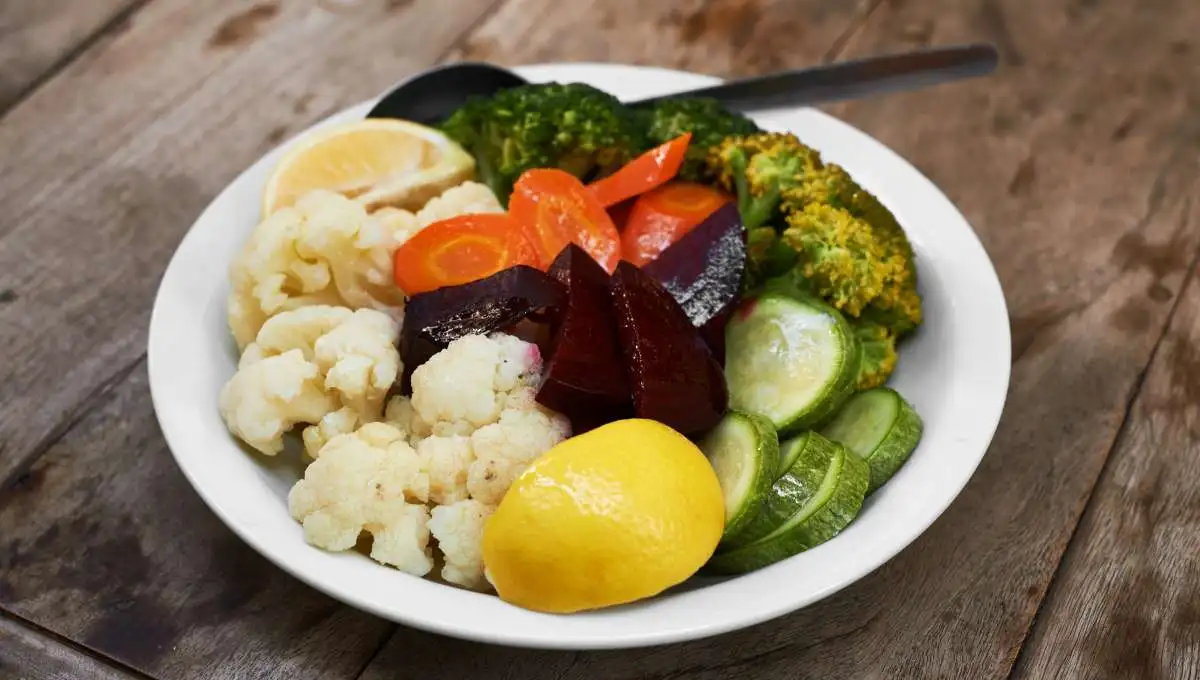
With steam blanching, you can quickly heat vegetables without submerging them in boiling water. Simply place a steamer basket over boiling water and steam the vegetables until they are slightly tender. This method is great for preserving the vibrant colors and nutrients of your vegetables, making them perfect for a crisp and colorful vegetable tray.
Microwave Blanching for Quick Prep
Prep your vegetables in no time with microwave blanching. By placing your vegetables in a microwave-safe dish with a bit of water and covering them with a microwave-safe lid or plastic wrap, you can quickly blanch them in the microwave. This method is ideal for when you’re in a hurry and need a speedy prep option for your vegetable tray.
Blanching vegetables in the microwave allows you to retain their crispness and bright color while saving time in the kitchen. Remember to adjust the cooking time based on the type and quantity of vegetables to achieve the perfect blanch.
Raw Vegetables on Trays: When to Skip Blanching
Some vegetables are best enjoyed raw on a vegetable tray, skipping the blanching process altogether. Vegetables like cherry tomatoes, cucumber slices, and bell pepper strips add a delightful crunch and freshness to your tray without the need for blanching. By including raw vegetables, you can provide a variety of textures and flavors that complement the blanched vegetables.
When incorporating raw vegetables on your tray, ensure they are fresh, washed thoroughly, and cut into bite-sized pieces for easy snacking. The vibrant colors and crisp textures of raw vegetables add a refreshing element to your vegetable tray.
Troubleshooting Common Issues
Overcooked Vegetables
To prevent vegetables from becoming overcooked during the blanching process, it is important to closely monitor the timing. Overcooked vegetables can lose their vibrant colors, flavors, and necessary nutrients. Make sure to set a timer and follow the recommended blanching times for each type of vegetable to achieve the perfect texture and color.
Vegetables Losing Color
To avoid vegetables losing color after blanching, plunge them immediately into ice water after the blanching time is up. This stops the cooking process and helps preserve the vibrant colors of the vegetables.
Plus, when blanching green vegetables such as broccoli or asparagus, remember to blanch in small batches to prevent overcrowding, which can lead to uneven cooking and loss of color.
Managing Leftovers Effectively
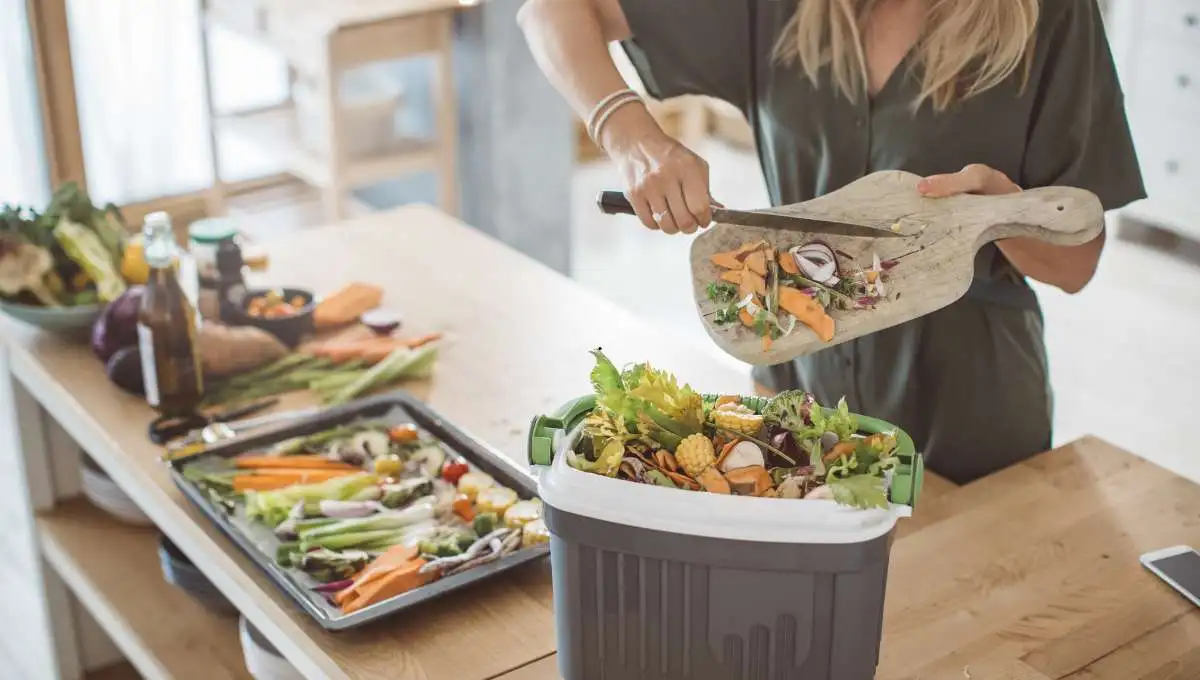
You can store blanched vegetables in airtight containers in the refrigerator for up to 3-4 days. When reheating leftovers, steam or sauté the vegetables briefly to retain their texture and flavors.
Leftovers can also be a great addition to soups, stir-fries, salads, or omelets, providing a quick and nutritious meal option.
Summing up
Following this comprehensive guide to vegetable trays, you now have the knowledge and skills to create stunning and delicious displays for any occasion. From selecting the freshest vegetables to properly blanching and arranging them, you can impress your guests with your culinary prowess.
Remember to experiment with different vegetable combinations, dips, and garnishes to customize your trays to suit your preferences and the theme of your event. With the tips and techniques provided in this guide, you can elevate your vegetable tray game and become the go-to host for all future gatherings.
FAQ
What is blanching?
Blanching is a cooking technique where vegetables are briefly immersed in boiling water, and then rapidly cooled in an ice bath to halt the cooking process. This helps preserve the color, texture, and nutrients of the vegetables.
Why should I blanch vegetables before assembling a vegetable tray?
Blanching vegetables before assembling a tray helps to enhance their vibrant colors, improve texture, and ensure they stay fresh longer. It also helps to kill any bacteria on the surface of the vegetables.
How do I blanch vegetables for a vegetable tray?
To blanch vegetables, bring a large pot of water to a boil, add the vegetables, and cook for a short period of time (usually 1-3 minutes, depending on the vegetable). Immediately transfer the vegetables to an ice bath to stop the cooking process.
Which vegetables are best for blanching on a vegetable tray?
Vegetables that are best for blanching for a vegetable tray include broccoli, carrots, green beans, cauliflower, asparagus, and snap peas. These vegetables hold up well to blanching and retain their vibrant colors.
How far in advance can I blanch vegetables for a vegetable tray?
You can blanch vegetables for a vegetable tray up to 24 hours in advance. After blanching, store the vegetables in an airtight container in the refrigerator until you are ready to assemble your tray.
